How can we help?
Initial Setup Guide
Overview
This guide will outline the steps necessary to get up and running with DataXchange starting from scratch. Once you have your account number and account password you can download the DataXchange client and start configuring the system according to your needs.
Installing the Software
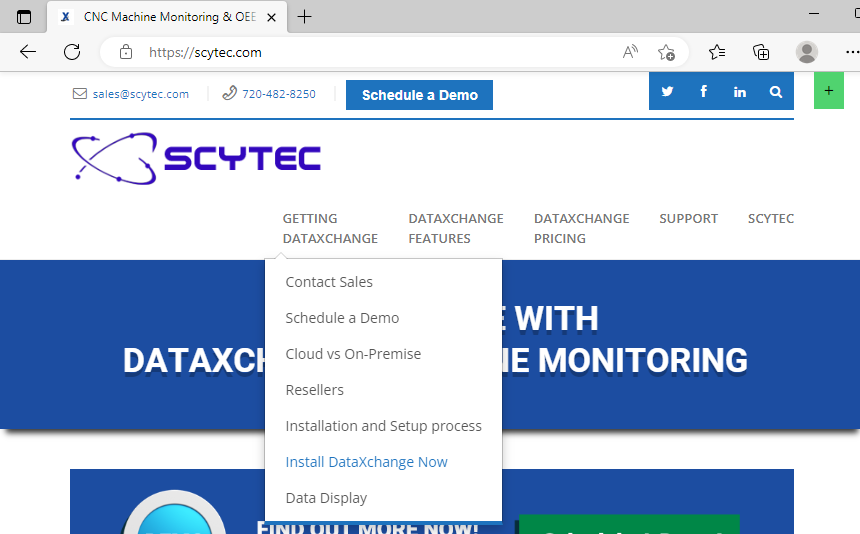
The DataXchange client can be installed from scytec.com. Go to Getting DataXchange and click Install DataXchange Now from the menu. Run the downloaded program and the rest of the software will download and install.
Login to DataXchange
When you first start DataXchange you will be asked to enter your Account Information. Enter your Account Number and Password as provided by Scytec or your reseller, then enter your User Name and Password to Login. A more detailed explanation can be found here.
Basic Configuration
Once logged in, go to the Manage tab. On the far left side click the DX Service button. Click Add and enter the information for the PC where you installed the DataXchange Service. If you have multiple services installed they should be added here as well. If you have not installed a service yet we can continue with configuring the system, but a DX Service is required to collect data from machines so you won’t be able to do much without it.
Now click on the Plants button. Click Add to create a new plant and enter a name and a time zone. If you have multiple plants add them here as well. Once this is done we can define the machines from which data will be collected.
Optional: If you wish to categorize machines beyond the Plant designation, you can create Equipment Groups from the Manage → Equipment → Equipment Groups menu item.
Click Equipment → Equipment to define the machines you wish to collect data from. Some information here is optional but you must define a Name, Make, Model, CNC Control Model, Plant, License Level and DataXchange Service.
- Name: A distinct name of the equipment. This should be recognizable to you or your workers so you know which piece is which.
- Plant: The plant where the machine is located.
- License Level: The types of data you can collect is directly related to the license level.
- DataXchange Service: The Service the machine will communicate with to talk to the cloud. The services defined under the DX Service menu will show up here.
Click Enter to confirm. Repeat this step for each piece of equipment you will be using with DataXchange. Once equipment is defined it is time to configure the communication between the machines and the DX Service.
Communication Setup
First, the DataXchange Service will need to be configured. This typically only needs to be done once for your organization. For a detailed explanation, click here.
In order to collect data from machines DataXchange must first be made aware of where the service is collecting data from. In the ribbon bar, go to the DataXchange tab and click on Communication. Select a machine from the Equipment list on the left. You will see some communication sources and targets are entered by default. These include the Scytec PCS Database (Source and Target), the ODI (Source only), and Email (Target only). These should not need to be modified or removed.
Now click Add to create a new communication item. Select Source as the Communication Role and from the Communication Type list select the appropriate option depending on the kind of machine you have. Possibilities include:
- Fanuc Focas Host
- MTConnect Host
- Caron TMAC Status Host
- OPC UA
- Haas NGC
- If your machine does not use any of the above protocols then chances are you are using a Scytec SRC. Select Scytec SRC Ethernet or Scytec SRC as appropriate.
For most of these options you will only need to enter a Host Name or IP Address and a Port number. The OPC UA protocol is a little more complex, requiring an SSL certificate to be generated and used to communicate with the machine. This setup process is detailed here.
Once finished click Enter to save the new communication source. Add the appropriate communication sources to each of your machines
Assigning Expressions
Once communication is configured the next step is to assign expressions. Expressions are used to tell the system what to do with the data received from a machine. For example, if the machine reports it is not cycling, an expression will process this and send the change in equipment status to the database.
Go to Expressions → Assign Expressions. Select a machine on the left and look for the appropriate expression group on the right. For example, if the machine uses Fanuc Focas, select the expressions from the Fanuc Focas expression group(s). You can filter the expressions by license level to avoid accidentally assigning an expression that will be ignored due to insufficient licensing. If you have multiple machines that will use the same expressions, you can select the checkbox next to each machine to assign a set of expressions to a set of machines. When you have the desired combination of expressions and machines selected, click Apply to assign the expressions. If you make a mistake, change the Action to Unassign Selected Expressions. Click Close when finished to return to the DataXchange tab.
Once Communication sources and Expressions are assigned data collection will begin automatically.
Further Reading
This guide covers the basic setup to start collecting data. However to get the most out of DataXchange there is more to be done.