How can we help?
Schedule an Emailed Report
Steps to Schedule an Emailed Report
Scheduled emailed reports can be sent at the user or group level. The proper permissions must be assigned to the user in order to access scheduled report settings.
To access scheduled report options for the logged in user, navigate to the User tab. For reports to send to multiple users, go to the Manage tab. In either case, select the Reporting button and select Add Scheduled Reports from the drop down.
- Select the Template type. Choose either the standard report layout or an Excel format.

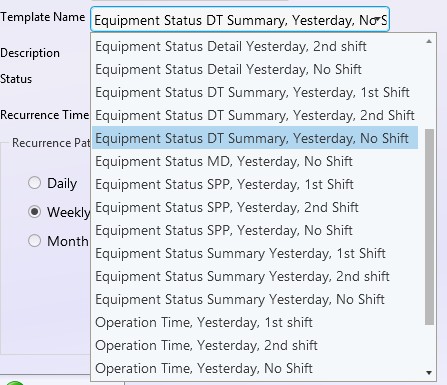
- Select the Saved report template. This list is generated by which Report Templates have been saved to that users account.

- For reports to send to multiple users, select the appropriate User Groups under User Group Assignments.

- Select the Enabled status for the Scheduled report. The report can be disabled from here if desired.

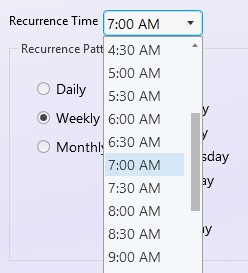
- Select the Recurrence Time.

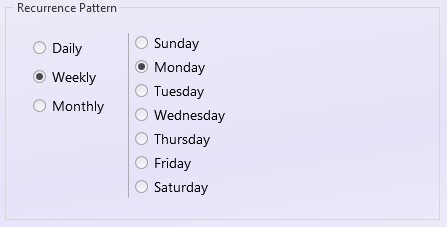
- Last, select the Recurrence Pattern and then click the Enter button to save.
