How can we help?
Manage Work Orders
Overview
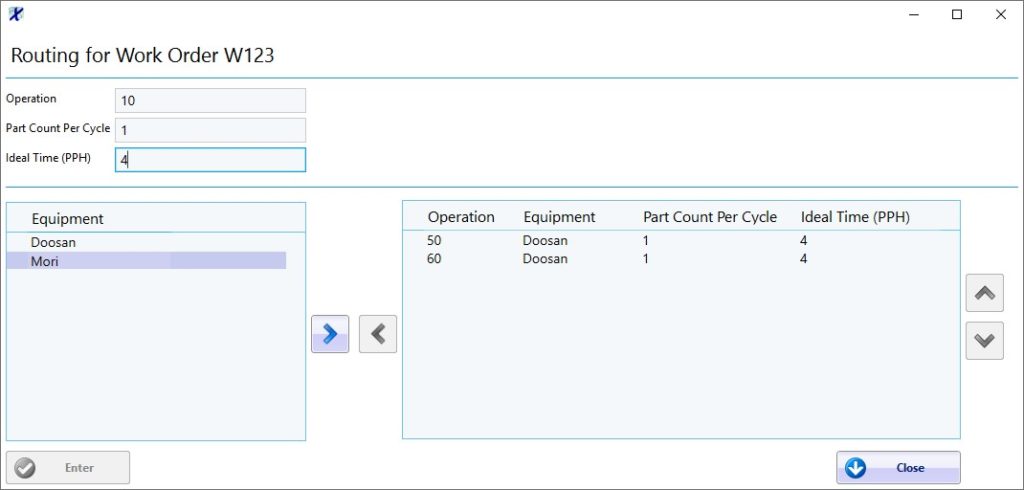
The Work Order page allows work orders to be added, modified, or removed from DataXchange. An enabled part number must be assigned to the work order. Additional information such as a start date, due date, build quantity, Ideal time(PPH), and routing information can also be added. Operations can be assigned to the same piece of equipment, in the same work order, and ideal operation times can be assigned to each operation.
Work Orders
The Work Order drop down on the Manage tab has four options:
- Work Orders
- Work Order Formats
- Work Order Settings
- Work Order Templates
The appropriate expressions must be added for each Equipment in order for the ODI to be able to interact with work orders. Select here for more information on ODI configuration.
Work Orders can also be imported into the system. Click here for more detail.
Work Order Formats
Work Order formats are used to help validate that work orders are entered correctly into the PCS Database. Using the work order format validation is especially helpful when work orders are added to the system automatically.
When creating work orders, keep in mind that only valid alphanumeric characters can be used. Special characters should not be used.
When adding or modifying a work order format the Format and Auto Add fields are required but the Description is optional.
Having the Auto Add field set to Yes will allow work orders to be added automatically through the DataXchange Service if the work order does not already exist in the database. Work Orders can be entered through the DataXchange Service by using the ODI screen, Work Order button, Part Number and Ideal Time Import, or a bar code scanner.
| Symbol | Description | Example |
|---|---|---|
| # | Numeric character | 0-9 |
| @ | Alpha character | A-Z a-z |
| & | Alphanumeric character | A-Z a-z 0-9 |
| * | Optional character | Any character other than the reserved symbols |
Any character used in the format other than the ones symbols defined will be treated as literal characters.
Format Examples
W####-@@ – This would require the entries to start the a capital W then 4 numeric characters followed by a hyphen (-) and then two alpha characters.
If one of the reserved characters used to define a symbol is required in the Work Order Format then the character can be escaped by using a backslash as shown below:
\# – This indicates a # sign is required in the work order ID, as opposed to any numeric character.
The Optional character will be used to specify that there isn’t a set format. This can be used in conjunction with other formatting rules if desired.
********** – This could be used to allow 10 characters or less to be added as new work orders.
W#####-*** – This would require the entries to start with a capital W then 5 numeric characters followed by a hyphen (-) and then up to three optional characters.
If a format is not specified then that would be equivalent to a format of 50 optional characters if Auto Add is set to True. 50 characters is the maximum length for work orders.
Work Order Settings
The Configuration section is used to control the amount of work orders that are available on the ODI screen within a specified date range. If the work order start date is more than the specified days in the future then the work order will not appear on the Activate page of the Work Order ODI screen. The default value is 30 days. The Data Listener identifiers are generally used with bar code scanners.
Work Order Templates
The Work Order Template form allows any previously created work orders to be saved as a template. The template can then be modified or removed.