How can we help?
OPC UA Kepware Setup
Overview
The following is an example setup of an OPC UA Server using Kepware KEPServerEX6 for the OPC UA Source within DataXchange.
Once KEPServerEX6 has been installed, run the OPC UA Configuration Manager. This can be done from the Windows Start menu or from the task tray.
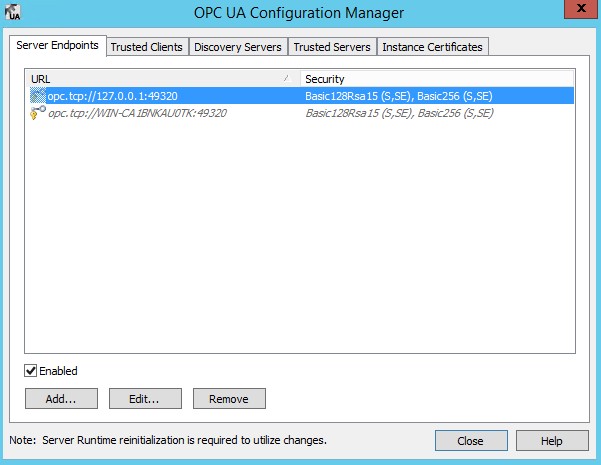
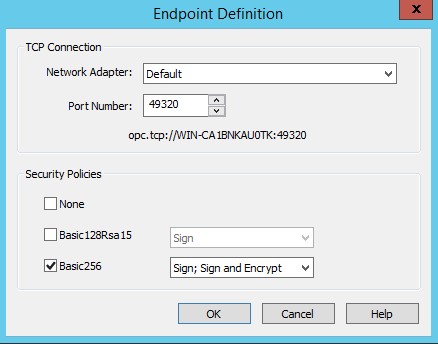
A server endpoint must be enabled. Only the local host URL is enabled by default. An entry that is italicized identifies that it is disabled. Modify the second entry in the list, or add a new entry with the appropriate network adapter, port and security settings.
DataXchange can work with any of the listed security policies.
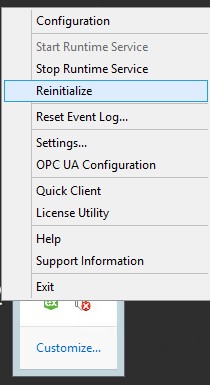
Per the Note at the bottom of the OPC UA Configuration Manager form, a reinitialization is required for the changes to take effect. Reinitialization can be done from the Windows Task Tray.
Next, the project must be configured with the Tags. The Kepware configuration can be launched from the Windows Task Tray by clicking on Configuration.
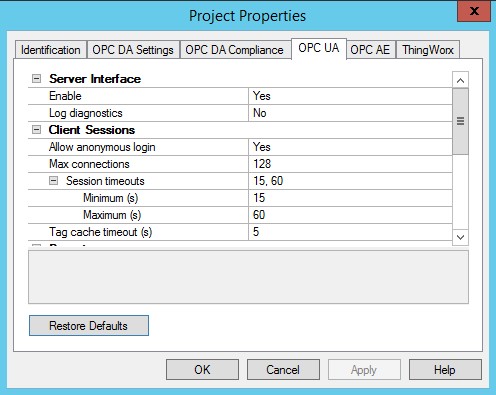
First, right click on the Project node and select Properties. Set the Allow anonymous login to Yes on the OPC UA tab.
For the associated Devices ensure that the Tags have been configured.
Ensure that the TCP port being used has been opened up on any firewalls.
Within DataXchange, add an OPC UA Source. Fill out the Host and Port information and press the Discover button. The certificate will be transferred automatically when using Kepware, therefore the Export button is not needed. Likewise a Route should not be needed when connecting to Kepware.
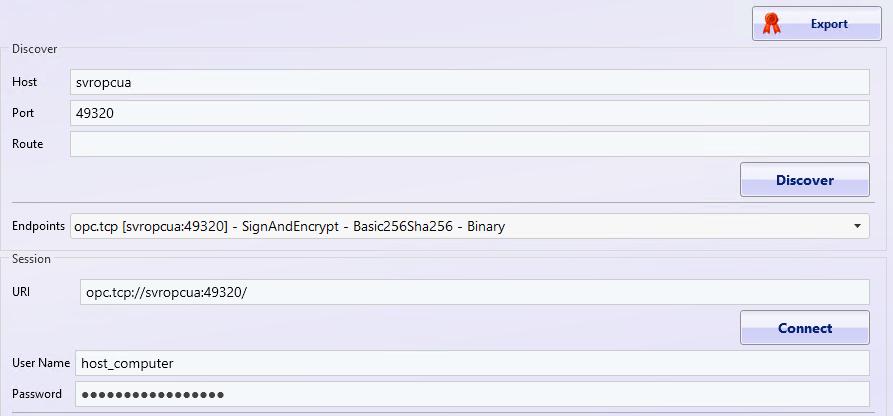
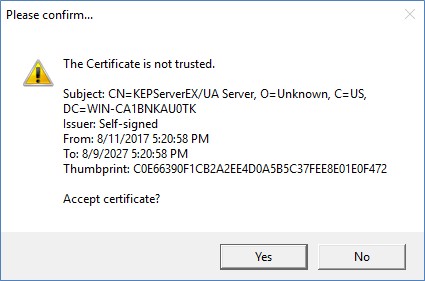
Select the desired Endpoint if more than one is in the list and press the Connect button using the default URI information. A message will appear identifying that the Kepware self-signed certificate is not trusted. Select Yes.
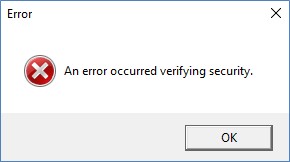
DataXchange will generate an error. Select OK to clear the error.
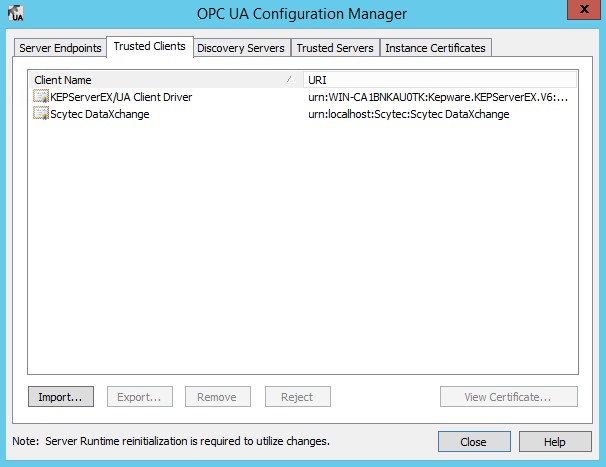
Return to the OPC UA Configuration Manager, where Kepware is installed, and go to the Trusted Clients tab. Scytec DataXchange will be shown in the list. Select Scytec DataXchange and the button on the bottom of the form will change from Reject to Trust.
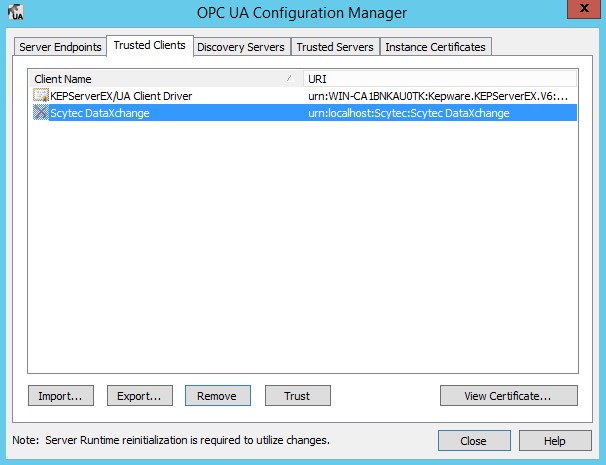
Select Trust.
In DataXchange, press the Connect button again. This time an error should not appear and the Modify button will become enabled when selecting a Variable from the list.
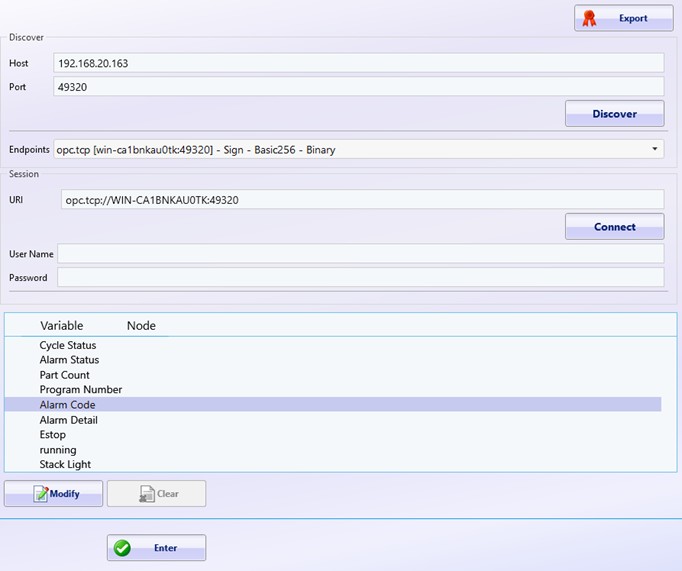
Use the Modify button to browse the OPC UA Tags and map them to DataXchange variables.